Packaging#
So, what’s the deal with packaging our project? I already have all my code in a file — can’t I just email it to someone? Is packaging just a fancy way for developers to complicate things? We’ll answer these as we pick up a few concepts here…
Having all your code in a Python file (.py) is nice, because you can simply import it as a module for other scripts. And indeed, you can simply share that file with others (via email, USB drives, Github gists, etc.). But it’s not really a scalable option for sharing, because most projects will be a lot more complex as:
- they'll have more than just a single file - multiple files and even multiple directories
- they might depend on other libraries that are not Python-based
- they could have specific needs in terms of the environment it has to run in (e.g. a specific version of Python or other packages)
This is where “packaging” comes in. It is about making your code easy to install and use for others. When you package your code, you create a distributable version of it that can be installed on other machines. Now, what’s this new term: distributable?
A distributable is a version of your code that’s ready for others to use. Every computer will have it’s own OS, it’s own environments and related paths and variables. These are set to work with the computer’s architecture. By packaging your code, you make it so that the user only needs to run a few simple commands, like pip install your-package and everything else is taken care of for them. This includes installing any dependencies your code needs to run, setting up the correct paths, and ensuring compatibility with the user’s system.
When you package your code, you create a distributable version known as a package. A package is a collection of Python files that can be easily installed using a package manager like pip. pip is the Python package manager that helps you install and manage Python packages.
The pyproject.toml file#
So, how does pip know what to do with your package? How does it know what to install and where? That’s the role that a file called pyproject.toml plays. The pyproject.toml is a file, which provides pip with all the necessary information about your project, such as your package name, version, dependencies, as well as instructions on how to build it. With this file, you ensure that your package is straightforward to install and use!
What does the pyproject.toml file look like? Here’s an example:
[build-system]
requires = ["setuptools"]
build-backend = "setuptools.build_meta"
Create a new file in your project’s root directory and name it pyproject.toml (do not change the name of the file, keep it exactly pyproject.toml). Copy the above content into the file and save it.
Note
The TOML file is not a Python file, so you don’t need to add the .py extension to the file name. The file name should be exactly pyproject.toml. TOML is a configuration file format that is easy to read and write to help package managers like pip understand the structure of your project, but at the same time be easily human-readable.
This is the most basic pyproject.toml file that you can have. It tells pip that your project uses setuptools as the build system. setuptools is a package that helps you build and distribute Python packages. The build-backend key specifies the build backend that setuptools should use to build your package. In this case, it’s setuptools.build_meta. But that is not something you need to worry about right now. Just know that this is the minimum you need to have in your pyproject.toml file and that setuptools is a popular example of a build system, not the only one.
Adding metadata to your package#
The pyproject.toml file is not just for specifying the build system. It can also contain metadata about your package. Metadata is information about your package, such as its name, description, version, and author. This information helps users understand what your package does and how it can be used.
Here’s an example of how you can add metadata to your pyproject.toml file:
[build-system]
requires = ["setuptools"]
build-backend = "setuptools.build_meta"

[project]
name = "my-package"
description = "A simple package that does something cool"
authors = [
    {name = "Your Name", email = "you@yourdomain.com"},
]
In this example, we’ve added a new section called [project] to the pyproject.toml file. This section contains metadata about your package, such as its name, description, and authors.
Adding the version of your package#
We should also add the version of the package. The version is simply a string that specifies the version of your package. Here’s how you can add the version to the pyproject.toml file:
[project]
name = "my-package"
version = "0.1.0"
description = "A simple package that does something cool"
authors = [
    {name = "Your Name", email = "you@yourdomain.com"},
]
Here, we’ve hardcoded the version by typing out a string. But you can also use a variable to specify the version. This is useful if you want to update the version automatically when you release a new version of your package. This is called dynamic versioning, as opposed to static versioning, where you manually update the version string.
You can add more metadata to this section, such as the license, keywords, and classifiers. This information helps users understand what your package does and how it can be used.
Adding dependencies to your package#
Another essential part of packaging your code is specifying its dependencies. Dependencies are other packages that your package relies on to work correctly. By specifying your dependencies, you ensure that pip installs all the necessary packages when someone installs your package. This makes it easier for users to use your package without having to worry about installing dependencies manually.
Here’s an example of how you can add dependencies to your pyproject.toml file:
[build-system]
requires = ["setuptools"]
build-backend = "setuptools.build_meta"

[project]
name = "my-package"
version = "0.1.0"
description = "A simple package that does something cool"
authors = [
    {name = "Your Name", email = "you@yourdomain.com"},
]
dependencies = ["numpy", "pandas", "matplotlib"]
In this example, we’ve added a new key called dependencies to the [project] section of the pyproject.toml file. This key specifies the dependencies of your package, such as numpy and pandas. When someone installs your package using pip, pip will also install these dependencies to ensure that your package works correctly. If you have other dependencies such as tkinter or scikit-learn, you can add them to the list as well.
Often, it is a good idea to specify the version of the dependencies that your package requires because different versions of a package can have different features or bugs. By specifying the version, you ensure that there are no compatibility issues or conflicts between the dependencies. Here’s an example of how you can specify versions of dependencies:
dependencies = ["numpy>=1.0", "pandas>=1.0", "matplotlib==3.0.2"]
In this example, we’ve specified that our package requires numpy version 1.0 or higher, pandas version 1.0 or higher, and matplotlib to be exactly version 3.0.2. This ensures that pip installs the correct versions of the dependencies when someone installs your package.
Building your package#
Note
Your project only needs to have the pyproject.toml file in the root directory. The final project assessment does not require you to build your package. However, it is a simple step after you have created your pyproject.toml file, which will help you understand the packaging process better. Learning this will help you in the future and also to understand better what actually happens when you install a package using pip.
What you have done so far is to create a pyproject.toml file that specifies the build system, metadata, and dependencies of your package. After this, you need to build your package so that it can be installed using pip. As explained earlier, building your package involves creating distributable versions of your code that can be easily installed on other machines.
Warning
Make sure you have the setuptools and wheel packages installed before running this command. You can install it using pip install setuptools wheel. Also, it’ll be good to upgrade to the latest build package by running pip install --upgrade build.
If you have multiple folders in your project, pip might have trouble building your package, because it expects a single folder with all the necessary files. In such cases, you can create a src folder and a folder inside there with your package’s name. Move all your Python files into this directory. So, now your project structure will look something like this:
my-package/
--- pyproject.toml
--- src/
    |--- your_project_name/
        |--- data_folder/
        |--- reference_folder/
        |--- some_functions.py
        |--- main.py
Now, to build your package, you need to run the following command in your terminal in the same directory as your pyproject.toml file:
python -m build
When you run this command, the terminal will print out a bunch of messages as it builds your package. If everything goes well, you should see a message that says something like Successfully built my-package-0.1.0.tar.gz and Successfully built my-package-0.1.0-py3-none-any.whl. This means that pip has successfully created a distributable version of your package.
You’ll see that pip has created a dist folder in your project directory. This folder contains the distributable versions of your package, namely a .tar.gz file and a .whl file. These are the distributable versions of your package. So, what are these files? The .tar.gz file is a source distribution of your package, which contains all the necessary files to build and install your package. The .whl file is a built distribution of your package, which is a binary distribution that can be installed on other machines.
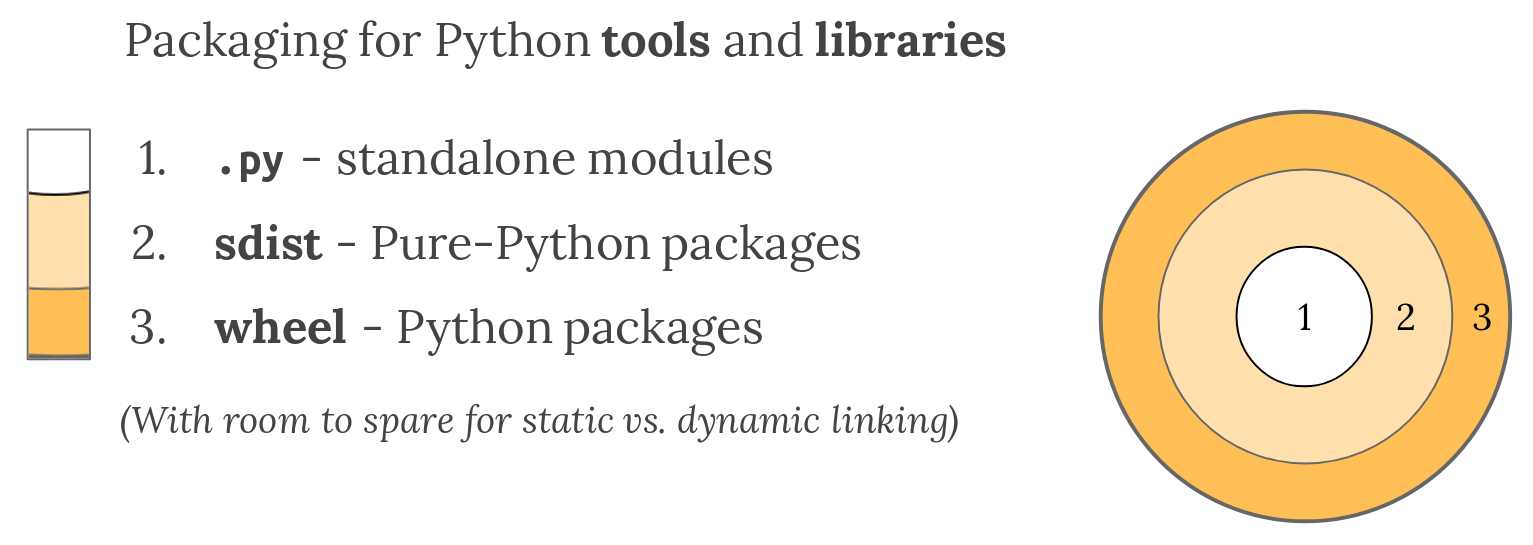
For us, it doesn’t matter which file we use, because pip can handle both types of distributions. That said, the .whl file is more efficient and faster to install, so it is the preferred distribution format. I highly recommend going through this tutorial if you want to understand more about the differences between source and wheel distributions.
Installing your package#
Now that you have built your package, you can install it on your machine using pip. To install your package, you need to run the following command in your terminal in the same directory as your pyproject.toml file:
pip install dist/my-package-0.1.0.tar.gz
Alternatively, you can install the .whl file:
pip install dist/my-package-0.1.0-py3-none-any.whl
When you run one of these commands, pip will install your package on your machine. You should see a message that says something like Successfully installed my-package-0.1.0. This means that pip has successfully installed your package.
Now, you can use your package in your Python scripts by importing it like any other package. For example, if you have a function called my_function in your package, you can import it in your script like this:
from your_project_name import my_function
And that’s it! You’ve successfully packaged your code and installed it on your machine. You can now share your package with others by uploading it to a package repository like PyPI. This way, others can install your package using pip and use it in their projects.
Note
TestPyPI is a good starting point to test your package before uploading it to PyPI. It is a separate instance of the Python Package Index that allows you to test your package before making it public. The link provides a detailed guide on how to get started with TestPyPI. Once you are ready, you can upload your package to PyPI using the twine package and then, anyone can install your package using pip install my-package.